Showing posts with label CHOCOLATE. Show all posts

Saturday, July 7, 2012

Chocolate buttermilk muffins (cupcakes) with tri-color buttercream frosting

I don't often trust the muffin recipes that tell you to mix dry and wet ingredients in two separate bowls then just combine them. That's because I tried that method for a few times and the results were always tough muffins. I have more confident in the recipes starting with creaming butter and sugar together. But now I've come to realize that maybe I was the one to blame. When folding wet ingredients into dry mixture, it seemed like I always overmixed, and I didn't stop before I got a very smooth batter. Apparently that's not the way. The key here is mixing until just combined, and it's completely fine if the batter is not smooth, because that's the way it should be.

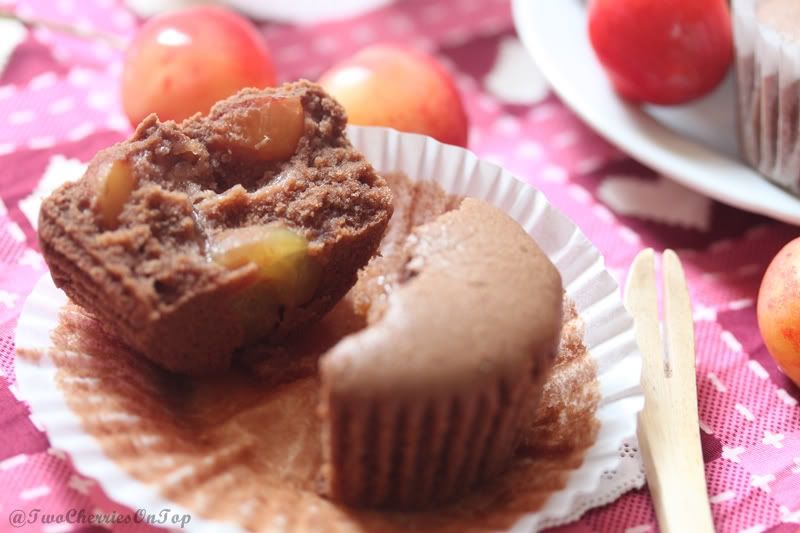
This recipe for chocolate buttermilk muffins is a very good one and I'd like to use it again and again. The muffins are soft and fluffy with fantastic chocolate aroma. They all look cute and neat that they could as well be put in a box to gift someone. Surely the recipient will honestly love the little cakes.

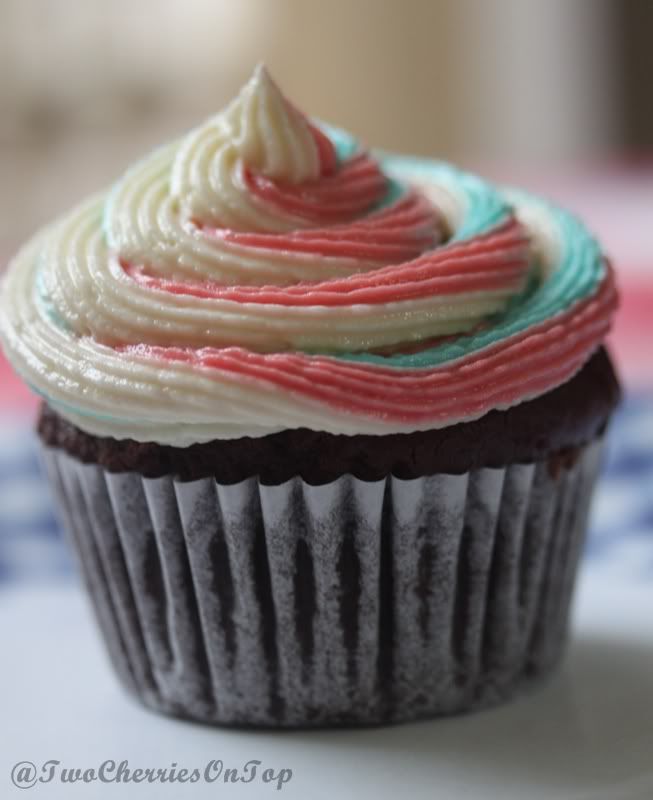
There's one more thing I want to say. I wanted to make the red, white and blue frosting for July 4th. but this was the first time I made frosting and also the first time I used icing colors so my experience in this was close to none. And I also didn't want to use too much color. That was why my frosting didn't look blue and red, but more like cyan and pink. Someone in my family said the frosting looked more like Christmas instead of July 4th. Anyway, the frosting was so delicious that I guess I'll follow that recipe the next time I make buttercream frosting, and the next time, and the next time...

Recipe after the jump

Friday, June 29, 2012

Chocolate cherry muffins

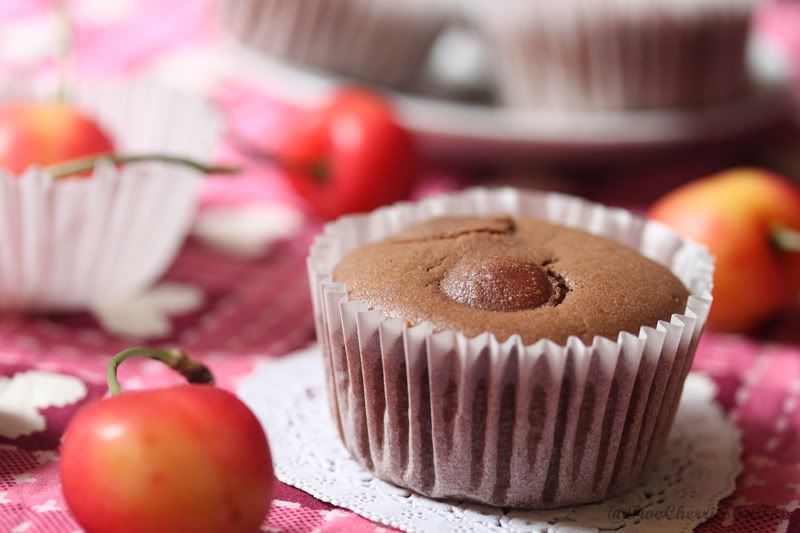
Who can refuse the combination of chocolate and cherries? Absolutely not me. That was why I decided to make these chocolate cherry muffins right when I saw the recipe.
Recipe adapted from Calcherry.

Chocolate Cherry Muffins
Makes 12 medium muffins
 
Ingredients:

• 8 ounces butter at room temperature (227g)
• 3/4 cup sugar (150g)
• 2 eggs, beaten
• 2 cups all-purpose flour (260g)
• 2 teaspoons baking powder
• 1/2 teaspoon salt
• 1/3 cup unsweetened cocoa (28g)
• 1 cup milk (240ml)
• 1 1/3 cups pitted cherries, halved
• 1/2 tsp vanilla extract

Directions:

1. Preheat an oven to 400 degrees F.

2. Cream together the butter and the sugar until fluffy and light. Slowly beat in the eggs, one at a time, and vanilla extract.

3. In a bowl, sift together the flour, baking powder, salt, and cocoa. Add this to the egg mixture along with the milk and mix just long enough to blend the ingredients, no more than 20 seconds.
 
4. Fold in the halved cherries, no more than another 10 seconds.

5. Let rest 10 minutes, then fill greased muffin cups to the brim with the batter.

6. Bake until a toothpick inserted in the middle comes out clean, about 20 to 25 minutes.

7. Remove and let cool 10 minutes before unmolding.

Notes:

1. I used Rainier cherries b/c that was what I had. The fresh cherries were so delicious on their own, but they tasted quite pale in the muffins :(. Anyway, they did add some freshness.

2. I baked the muffins @ 350oF. 400oF seemed too high and I baked for 35'.

3. I put the muffins in the fridge and the next day they tasted like brownies with cherries :). Good.

4. My muffins did not raise very much (so remember to fill the batter up to the brim), maybe that was why they tasted like brownies after staying in the fridge. I did not follow the time limit in step 3 and 4, i.e it took me longer to mix the batter. Maybe that was the reason why my muffins were quite dense?

5. Will I bake these again? Maybe yes, but I'll pay more attention to the time limit and I'll use red cherries. Rainier cherries really should be eaten fresh.

Saturday, July 9, 2011

Chocolate spritz cookies

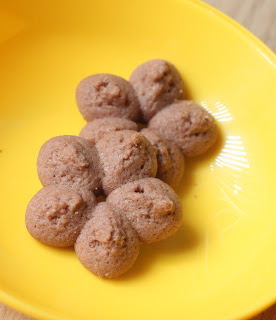
It was written in the manual booklet that this was star shape. To me, it looks completely like a flower

Cookies in perfect shapes, especially when served during holidays, are a great attraction to everyone, even those who normally don't like cookies. That was the reason why I bought a cookie press, quite a long time ago, after having seen rows of beautifully shaped cookies.

Anyway, being among those who aren't so into cookies, I had delayed using it until recently. Another reason for the delay was that there were too many "tips" out there, that made using a cookie press did seem like a complicated job. And mind you, I’m not so confident in baking, so it took me a long time to decide to try out my own cookie press.

To be on the safe side, I used the very recipe that was included in the cookie press box. The chocolate version was chosen because my elder son, like any other boys, loved anything chocolate.

I read that to make the cookie press work, an ungreased flat tray, which must also NOT be the non-stick type, should be used. Oh my, I don't have anything like that. All I have are: 1. a tray that was included with my old oven, which was definitely not flat with some ridiculous and unnecessary decorations; 2. a Chicago Metallic's old jelly roll pan, which is non-stick (of course – because it’s a jelly roll pan). What should I do? I decided to go with what I have and see how things would turn out.

Making the cookie dough and shoving it into the cookie press were no hard work. The "frightening" part was to press the dough into the tray, carefully enough so the cookies would hold shape. I chose a simple flower disk to use with the cookie press. Surprise! Pressing the dough out was nowhere near the difficulty that almost everyone talks about. You just press the handle, release it, hold the cookie press still for half a second, pull it straight up. Voila! You'll see your perfectly shaped cookies. Sometimes the dough pressed out is not perfect because it sticks to the cookie press, just gather the dough to the bowl to spoon into the cookie press again.

So that was what I do with my oven's tray. It was not flat but the cookies were alright. Now it's the non-stick tray's turn. I put the tray in the freezer and the cookie press full of dough in the fridge, both for 5-10 minutes (while baking the first batch). I thought that would make it harder for the butter in the dough to melt, resulting the cookies holding shape better. Seemed like my guess was right. I had no problem pressing the dough into the non-stick tray. Phew!

What I have to say here is, you don’t have to buy a new aluminum tray just to bake cookies using your cookie press. A non-stick jelly roll pan, which I think is popular in most of the kitchens, works well too. Just don’t grease it and don’t line it with parchment paper and it should be fine. It’s even simpler than baking cookies using the rolling-and-cutting method, right? :)

The recipe I used, as stated, is from the booklet in the cookie press box. It’s a surprisingly good recipe and the cookies taste great, in store-bought style, just much better.

- 1 cup (2 sticks) of unsalted butter, at room temperature (225g)
- 1 cup granulated sugar (200g)
- 1 egg
- 2 TBSP milk, or water.
- 2 ½ tsp vanilla extract
- ½ tsp salt
- ¼ cup of unsweetened cocoa powder (24g)
- 2 ½ cups all-purpose flour, sifted (337g)

Method:
1. Preheat oven to 375F (190C)
2. Combine butter and sugar in a large bowl. Using an electric mixer set on medium speed, beat until light and fluffy.
3. Beat in the egg, milk, vanilla extract, and salt. Using a spoon, stir in the flour and cocoa powder until well mixed.
4. Pack the dough into the cookie press. Fit with the desired disk design. Press the dough out onto ungreased baking sheet, spacing the cookies 1 inch apart.
5. Bake until lightly golden, about 10-12 minutes (I baked for 10 minutes, turned the tray around, the baked for another 2 minutes). Gently transfer the cookies to wire racks to cool. Sprinkle with vanilla sugar, if desired, or decorate with colored sugars. Store in an airtight container at room temperature for up to 4 days.
          Make about 4 dozen cookies.

I halved the recipe and made quite a lot of cookies. But all were consumed so quickly that I only had 2 left to take pictures (I actually had to ask my son to leave me those 2 cookies :)).
Monday, May 30, 2011

Chocolate layer cake with strawberry jam filling – simply good

Many times in life, I see that the simple things are the best. Jeans and tee’s are the best kind of clothes. A plain loaf of bread is one of the best food. This chocolate layer cake with strawberry jam filling is also a simple but very good cake. Who doesn’t like the combination of chocolate and strawberry jam anyway?

Actually, the recipe called for cherry jam, but I had some left-over strawberry jam, which was my elder son’s favorite, so I used strawberry jam instead, and it was a hit.

Recipe – adapted from the book “500 cakes – the only cake compendium you’ll ever need” by Susannah Blake (I got this book thanks to a good friend):

Ingredients:
- 113g butter, room temperature.
- 93g caster sugar.
- 2 eggs.
- 93g self-raising flour.
- 2 TBSP (12g) unsweetened cocoa powder.
- ½ tsp vanilla extract.
- strawberry jam.

Method:
1. Preheat over to 180oC (350oF). Grease two 16-cm round cake tins and line the bottoms with parchment paper. Sift the flour and cocoa together and set aside.
2. With the mixer, beat the butter and sugar until pale and fluffy. Beat in the eggs one at a time. Beat in vanilla.
3. Fold in the flour mixture with a silicone spatula.
4. Divide the batter equally into 2 tins and spread out evenly.
5. Bake for 20-25 minutes until a skewer inserted in the centre comes out clean. Turn the cakes out onto a wire rack and leave to cool completely. 
6. Reverse one cake (so the flat bottom looks up) and spread strawberry jam (or any kind of jam or cream you like) over the cake. Top with the second cake. Dust with cocoa powder if you like.

With simple ingredients, I got a delicious cake with warm cocoa aroma. It’s not as “heavy” as a pound cake, so I could eat a very big piece.